Tutorial: How to draw a flower petal using Adobe Illustrator

This is a tutorial on how to draw a simple flower petal using Adobe Illustrator. I use Adobe Illustrator CS4, but most of the tools are the same in the earlier versions.

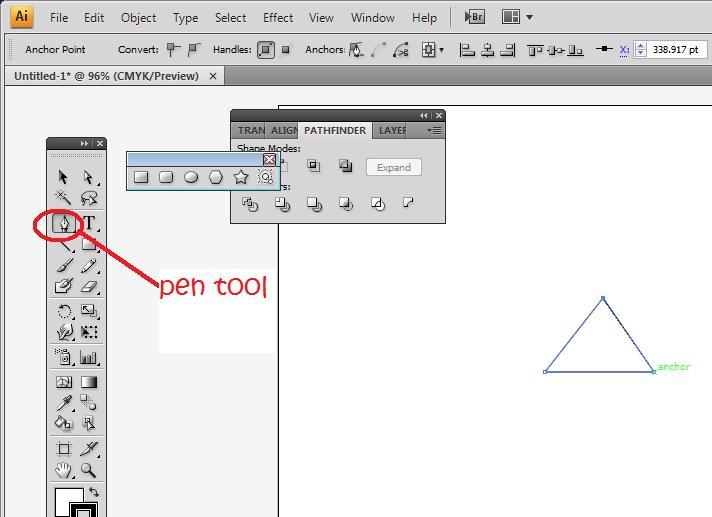
With the pen tool, draw a triangle. Join all the dots.

triangle

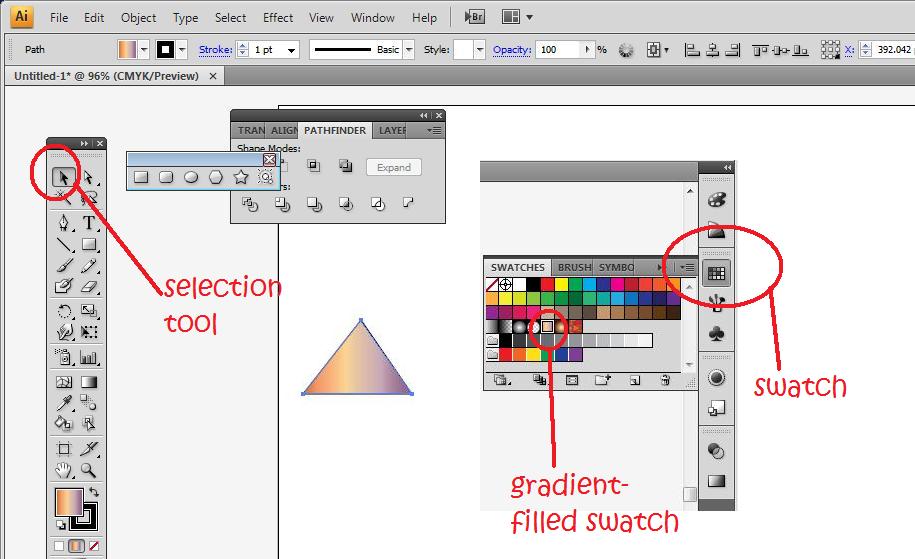
Then select the path with the selection tool (V) and clicking on swatch, select a gradient filled swatch to fill in the triangle. Illustrator is annoying in a way that it doesn't allow you to fill in a coloured gradient just by clicking on gradient.

gradient-filled swatch

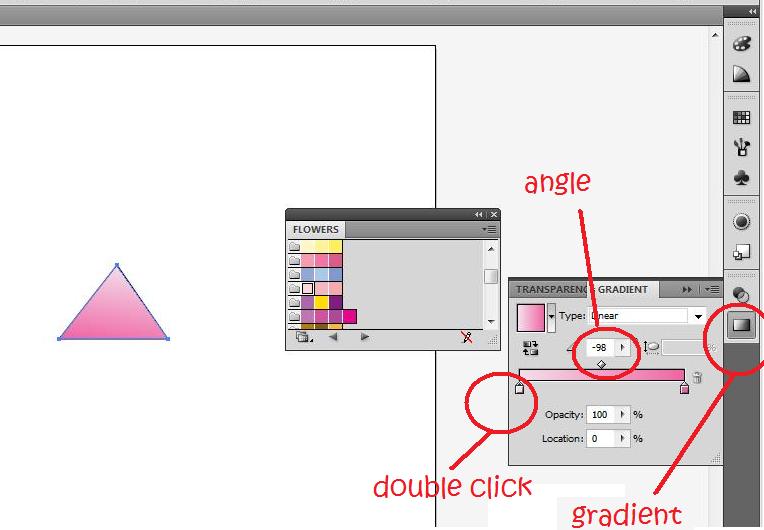
Next, click on gradients (Window>Gradients). Select the linear gradient. I chose a light pink (double click on the square on the gradient bar to choose the colour) followed by a darker pink on the gradient bar. I then changed the angle of the gradient to -98 to that the light pink is at the tip of the triangle.

fillgradientcolour

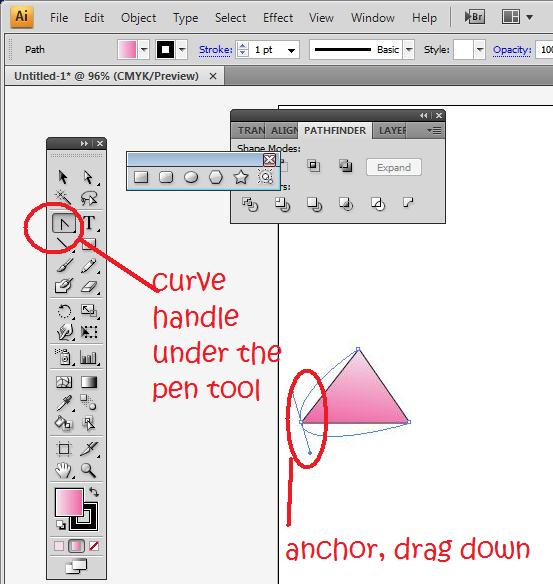
Next by clicking on the curve handle tool, which is hidden under the pen tool (hold the click of the pen tool and choose the curve handle). I click on the anchor on the bottom left of the triangle and drag downwards. This would result in a curved path.

flowerpetal4

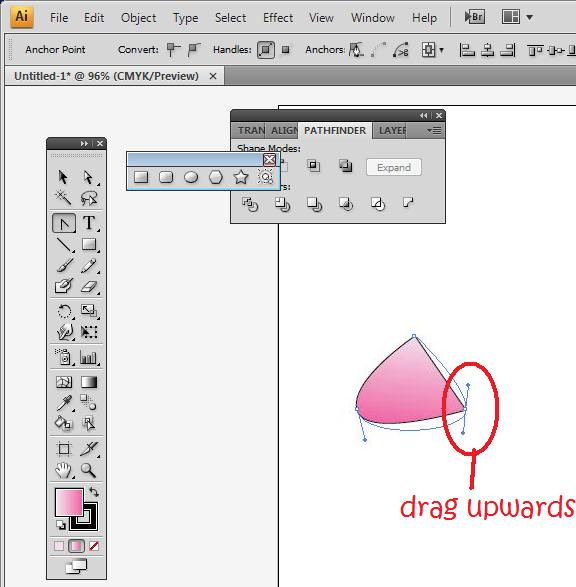
I then click on the right anchor and drag it upwards instead of downwards. You should adjust so that the petal shape that you want is achieved.

rightanchor

If the tip of the petal is too sharp, use the curve handle to change the shape. In the end, you get a petal that looks like this!

complete flower petal

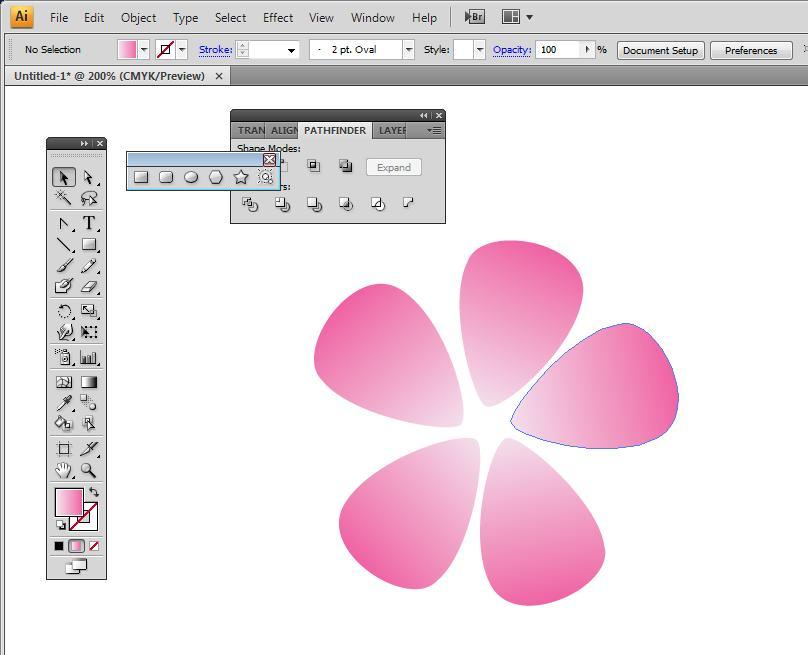
You can do countless things with this. I duplicated it five times and rearranged it to look like a flower, or you can even duplicate it and rotate it around to achieve the image of falling petals.

complete flower

Tutorial: How to draw a simple butterfly logo using Adobe Illustrator

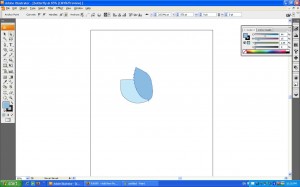
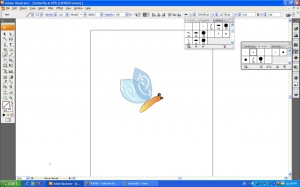
I opened up a new document in Illustrator and drew a basic wing shape using the Pencil tool. I adjust the wing shape by using the Direct Selection tool and double clicking on the path that I drew. I can then drag the lines to perfect my wing shape.

butterfly1

Then I filled it with a light blue colour with the Colour tool, and the border with black.

butterfly2

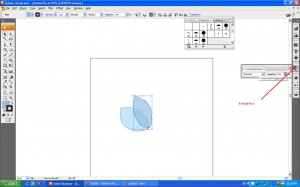
I drew a second wing shape with the Pencil tool again overlapping the first wing. This time I filled it with a darker blue.

butterfly3

I set the opacity on the transparency tool so that the backwing is visible

butterfly4

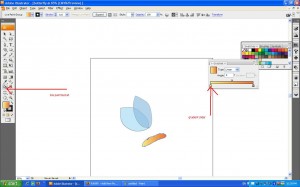
Next. again with the pencil tool, I draw a shape of the abdomen. This might not be perfect on the first try so I perfect it with the drag selection tool. Next I click on live paint bucket and make a live paint bucket from my selection of the abdomen. I then fill this in. I click on swatches and select an orange gradient. To change the degree of the gradient, I click on gradient (Window > Gradient) and drag the gradient slider around. To change colour I double click on the gradient slider which would bring me to the colour picker to choose a new colour.

butterfly5

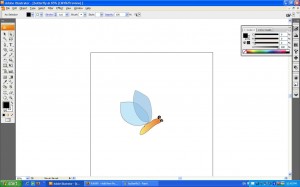
Next I make the feelers. I make this with the Spiral tool hiding under the line segment tool. First I selected fill as black, and then the border as white. I then draw two spirals which I transform and edit to fit around the head.

butterfly6

Almost finished! The wing looks a bit dull so I add patterns with the brush tool. I select the shape I want and draw spirals in the wing.

Finished!, I can then save this as a symbol for future use.

butterfly7

flutterby

Tutorial: how to attach an image to a link in css

First I made an unordered list in my html body with two links that I wanted. Here's an example below.

<div>
<ul>
	<li id="girl">
		<a href="http://looliwun.com">looliwun</a>
		</li>
	<li id="boy">
		<a href="http://hungred.com">hungred</a>
		</li>
		</ul>
</div>

This would result in a basic unordered list.

link1

I styled it in css using two pictures I made with Photoshop

ul
{
list-style: none; /*removes the underline below the link*/
margin: 0; /*removes the margin*/
padding: 0; /*removes the padding*/
}

ul li
{
float: left; /*this makes the element displays in a horizontal line*/
margin: 0;
padding: 0;
}

ul li a
{
color: #777;
display: block;  /*The element will be displayed as a block level element */
width: 75px; /*This allows the picture to be fit in the block*/
padding: 60px 10px 5px; /*There is 60px of padding on the top, 10px of padding on the right and left, and 5px of padding on the bottom*/
text-align: center;
text-decoration: none; /*removes all text decoration*/
}

ul li#girl a
{
background: transparent url(blablabla_files/rabbit.png) no-repeat top center; /*this makes the picture appears in the top center without any repeats*/
}

ul li#boy a
{
background: transparent url(blablabla_files/rawr.png) no-repeat top center;
}

ul li#girl a:hover,
ul li#boy a:hover
{
background-color: #FFFBC6;
/*this makes the color of the text change when the mouse hovers over the link*/}

ul li a:hover
{
color: #000 /*this makes the color of the text change when the mouse hovers over the link*/
}

This would make my link look like this
link2

When my mouse hovers over the link, the background colour changes to yellow, and the text of the link changes from gray to black.

Tutorial: How to create columns using the div tag

First, I created a container div that would hold everything in my layout. My CSS container rule was

#container
{
width: 800px;
text-align: left;
margin: 0 0 0 150px;

}

Next, within the HTML container div, I inserted a div for the content column and a div for the navigation column


content

Within the CSS rules, my content column was

#content
{    width: 65%;
float: left;
}

whereas my navigation column was

#navigation
{
width: 30%;
margin-left: 70%;


}

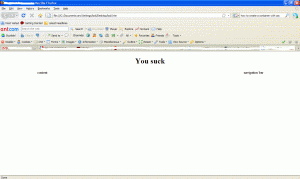
This makes my file look like this

html

Tutorial: How to replace a colour in a picture using the colour replacement tool

Using the colour replacement tool enables us to paint without going out of boundaries.

First, I used a photo of my roses. I want one of my roses to be blue in colour.

Flower1
Flower1

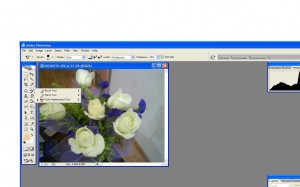
Next,  I pick the colour replacement tool which is hidden under the brush option on the toolbar

I change limits to sampling once, and find edges shown on the photo below.

photoshop2

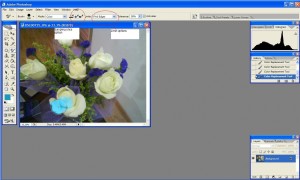
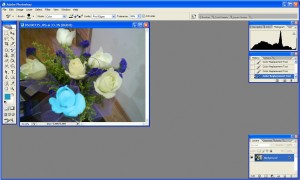
Next, I begin to paint on my object, in this case, the yellow rose at the bottom. My options enabled me to find the edges of the rose without painting over the boundaries. The tolerance settings can be changed in case this happens. If too much area is painted, the tolerance should be reduced, if the paint is not flowing freely, the tolerance should be increased.

My rose is now blue.Awesome.

photoshop3