Tutorial: How to chop and slice a image into multiple pieces

Using a slice tool it is really easy to slice off a image to mutiply pieces. RAWR!

1. Fire up your photoshop and draw a rounded rectangle with the Shape Tool.

untitled65

2. Use the Slice Tool and start cutting the pieces you want. (i removed the background here you can don't do that if it is just chopping image that you want to learn here)

untitled66

3. Click File->Save For Web & Devices.. and click 'Save' and remember to save in .gif format and not HTML format as shown below.

untitled67

Tutorial: How to make a neat button

1. Fire up your photoshop and open a workspace around the size of 250x100 with transparent background and draw a blue  rounded rectangle.

untitled56

2. Duplicate another layer and remove the background of this rounded rectangle if you did not create a workspace with transparent background, search for 'Add a layer style' on the bottom of the Layer palette and select 'Inner Glow'. Apply the setting as shown on the image.

untitled57

3. Click on 'Gradient Overlay', double click on 'Gradient:' and Apply the setting as shown below.

untitled60

untitled58

untitled59

Double click the red box and change the color as shown above.

4. Click on 'Stoke' and apply the setting shown below and click 'OK'.

untitled62

5. You will see something like this.

untitled61

6. Create a new layer by clicking 'Create a new layer' icon on the Layer Palette and draw two line using the 'Line Tool' as shown below.

untitled63

7. Add on some text on the button and its all good to go!

untitled64

Tutorial: How to make a shiny button

I like this button more than the Mac button in my previous tutorial.

1. Fire your photoshop and create a new workspace with the size approximately 250x100 with transparent background and draw a pill shaped as shown on my Mac button tutorial.

untitled47

2. You will need to cut off the background if you did not use a transparent background.

untitled48

3. Apply Inner Shadow (Layer > Effects > Inner Shadow) and apply the setting as shown below

untitled49

4. Apply Inner Glow (Layer > Effects > Inner Glow) layer effect to the pill layer as shown in the picture.

untitled50

5. Apply Bevel & Emboss (Layer > Effects > Bevel and Emboss) layer effect to the pill layer as shown in the picture.

untitled51

6. Apply Contour and apply the setting as shown below.

untitled52

7. Apply Drop Shadow and apply the setting as shown below.

untitled53

8. Apply Gradient Overlay and apply the setting as shown below.

untitled54

9. Viola~

untitled55

Tutorial: How to replace a colour in a picture using the colour replacement tool

Using the colour replacement tool enables us to paint without going out of boundaries.

First, I used a photo of my roses. I want one of my roses to be blue in colour.

Flower1
Flower1

Next,  I pick the colour replacement tool which is hidden under the brush option on the toolbar

I change limits to sampling once, and find edges shown on the photo below.

photoshop2

Next, I begin to paint on my object, in this case, the yellow rose at the bottom. My options enabled me to find the edges of the rose without painting over the boundaries. The tolerance settings can be changed in case this happens. If too much area is painted, the tolerance should be reduced, if the paint is not flowing freely, the tolerance should be increased.

My rose is now blue.Awesome.

photoshop3

Tutorial: How to draw a Mac button

This tutorial will demonstrate how to draw a mac button

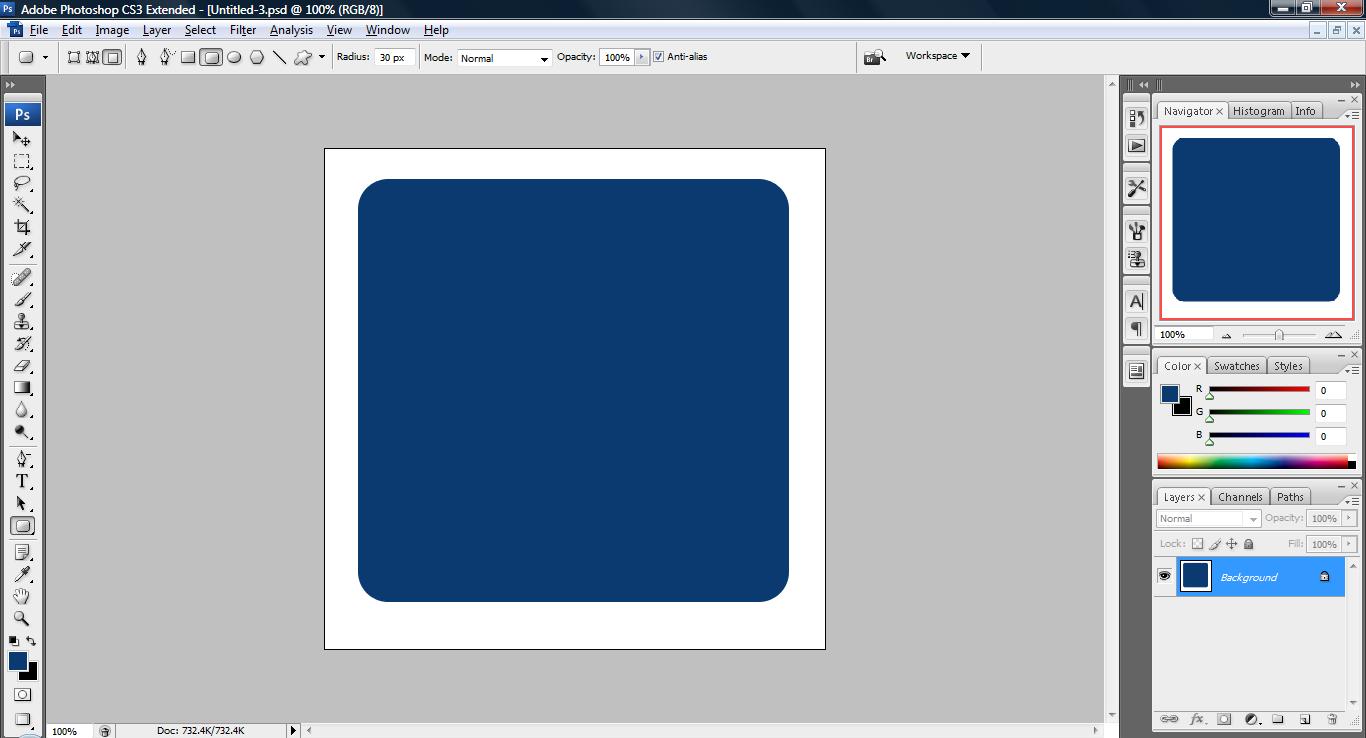
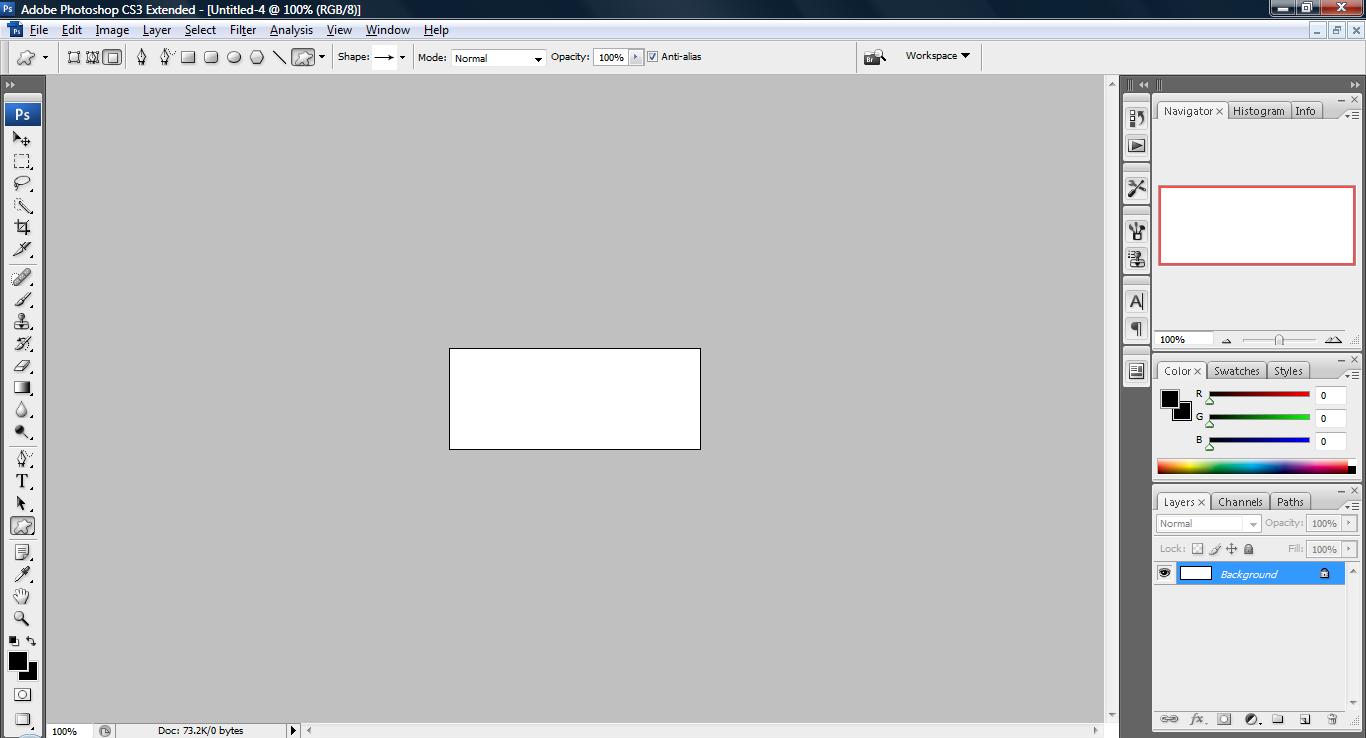
1. Fire up your photoshop and create a new board with the size 250x100 with transparent background.

untitled42

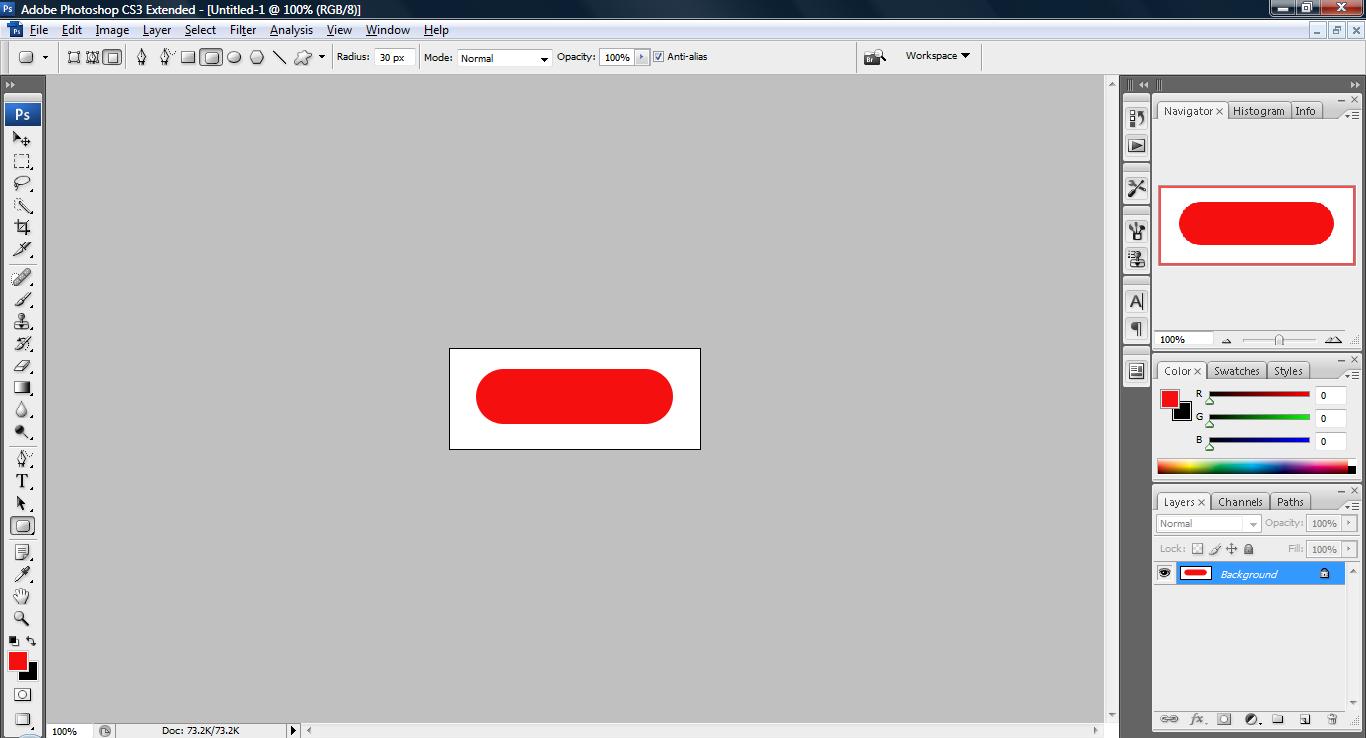
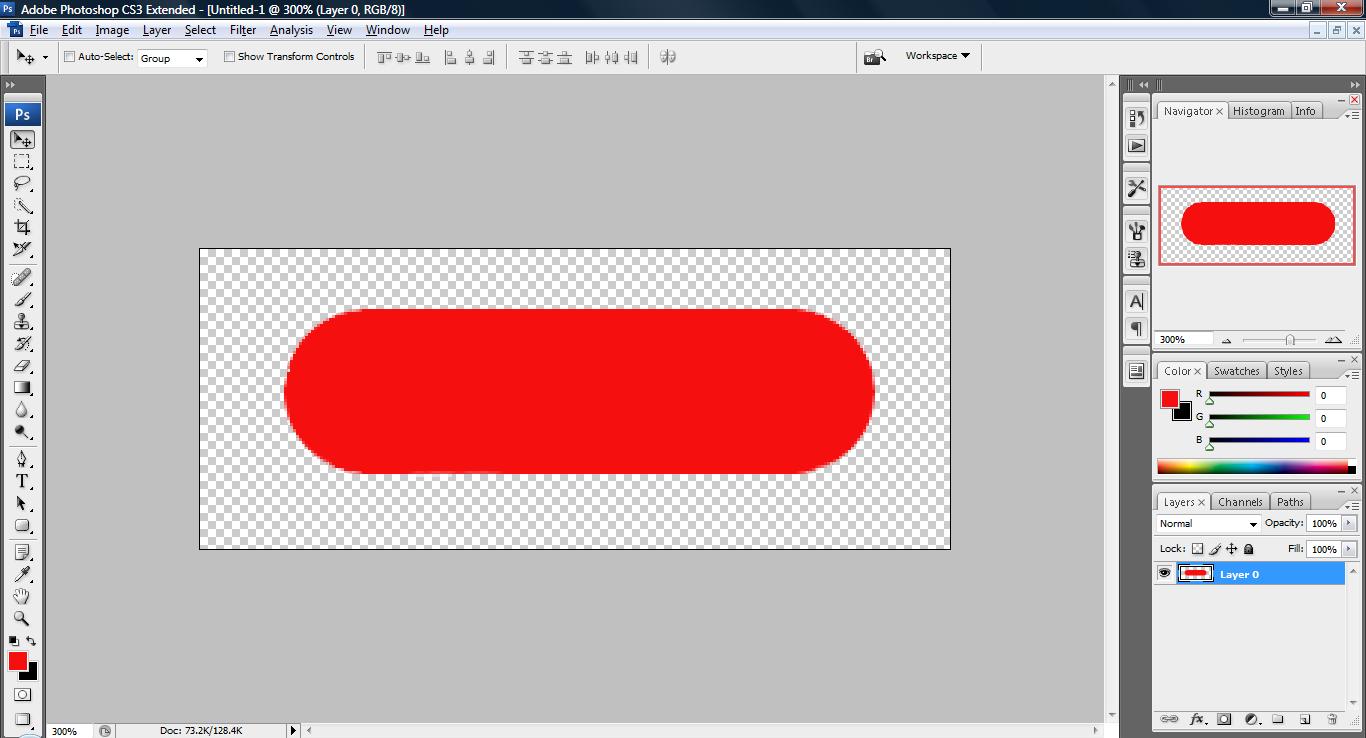
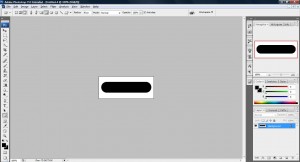
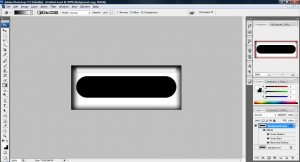
2. Select the Rounded Rectangle Tool, change the Radius to 30px and draw a pill on the board.

untitled43

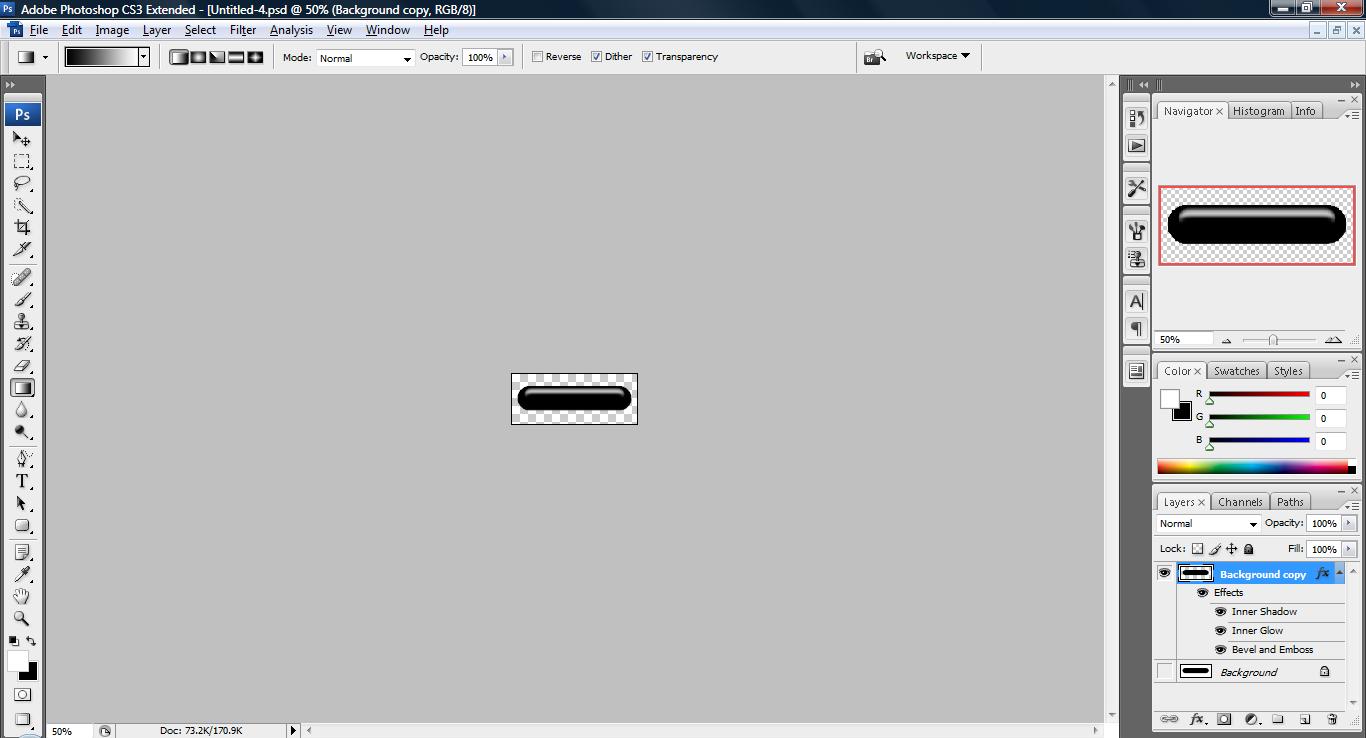
3. Go to the Layer Palette, right click on 'background' layer and duplicate a layer.

untitled44

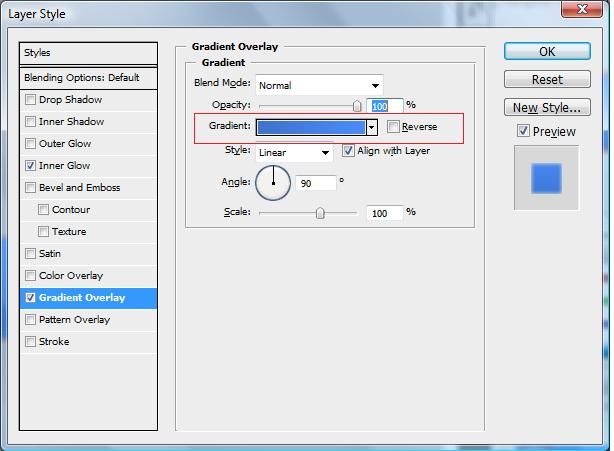
4. At the Layer Palette, look for a font like icon, click it and select Add Inner Shadow and the Layer Style window will open, select the settings that you see on the screenshot.

mac02

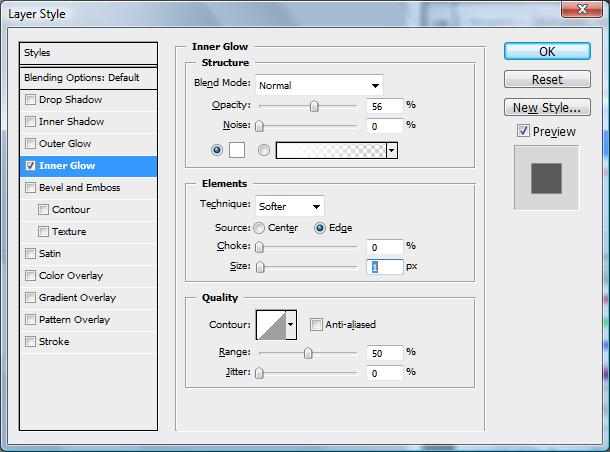
5. Select Inner Glow on the left and use settings that you see on the screenshot in the same window.

mac03

6. Select Bevel and Emboss on the left and use settings that you see on the screenshot in the same window.

mac04

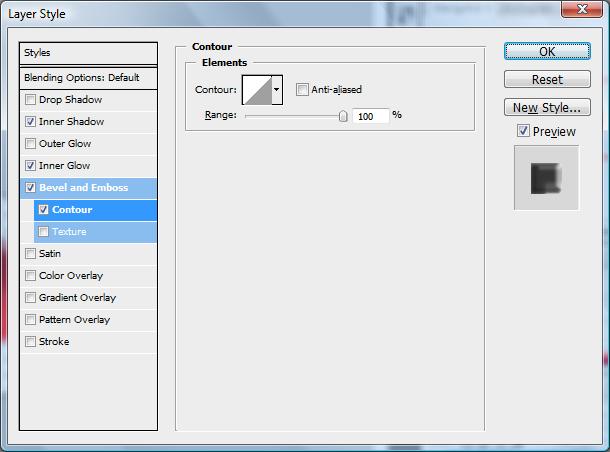
7. select Contour on the left and use settings that you see on the screenshot on the same window and click 'OK'.

mac05

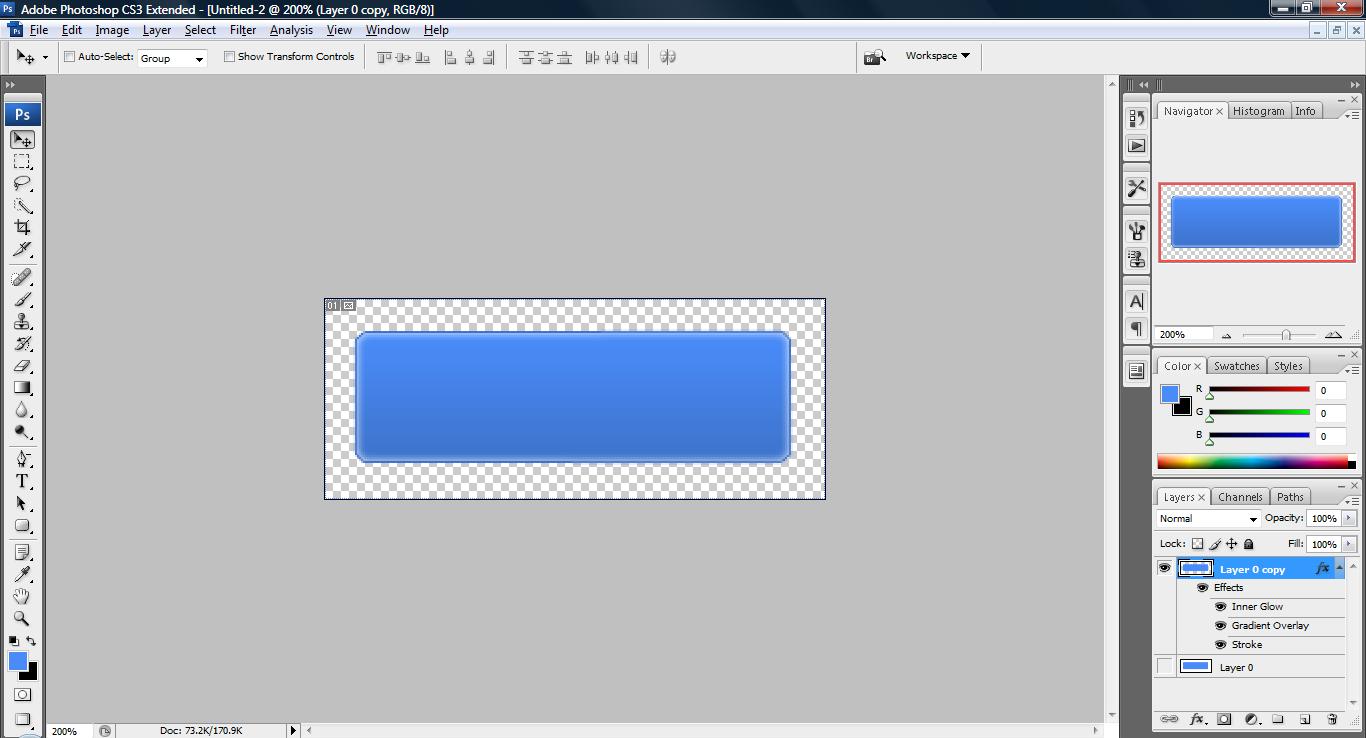
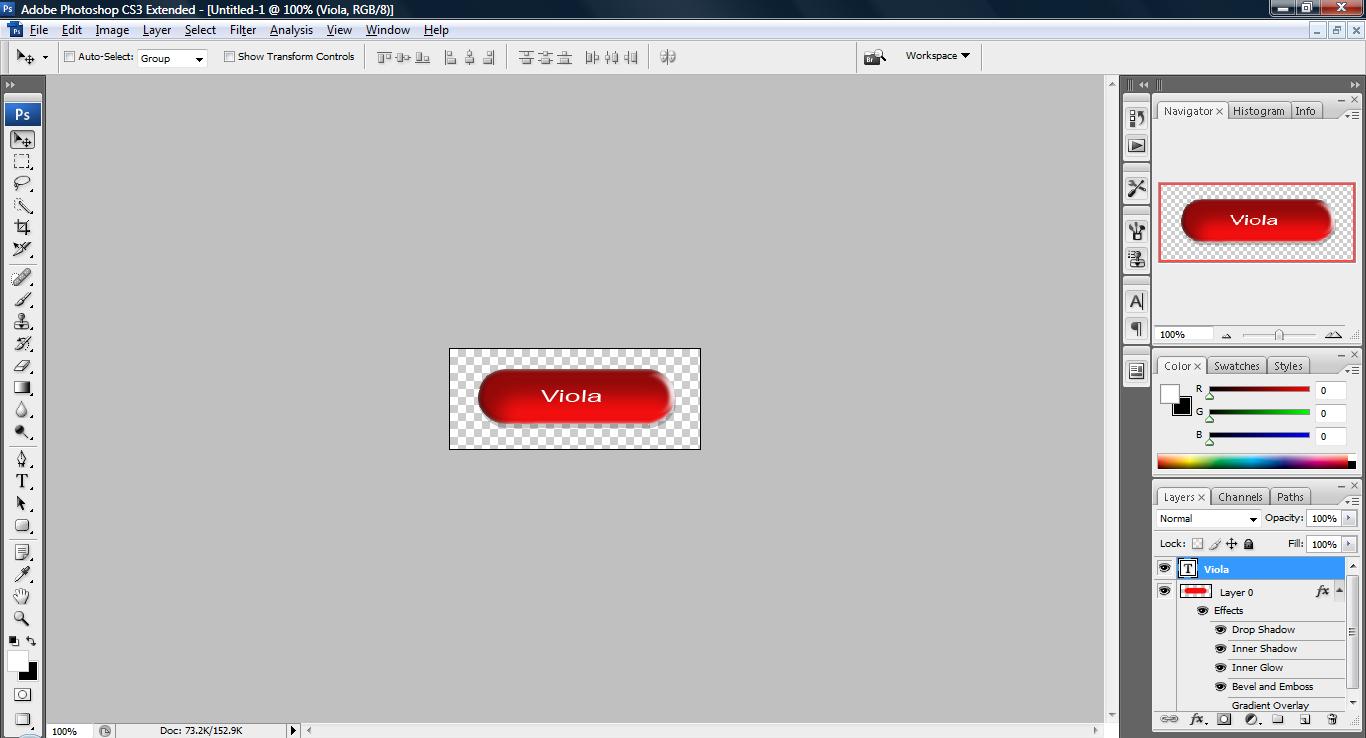
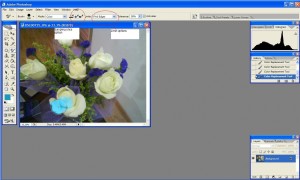
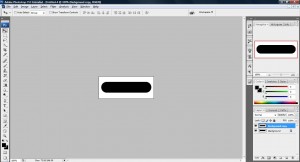
8. Now you will see something like this if you did not create your workspace with a transparent background at first.

untitled45

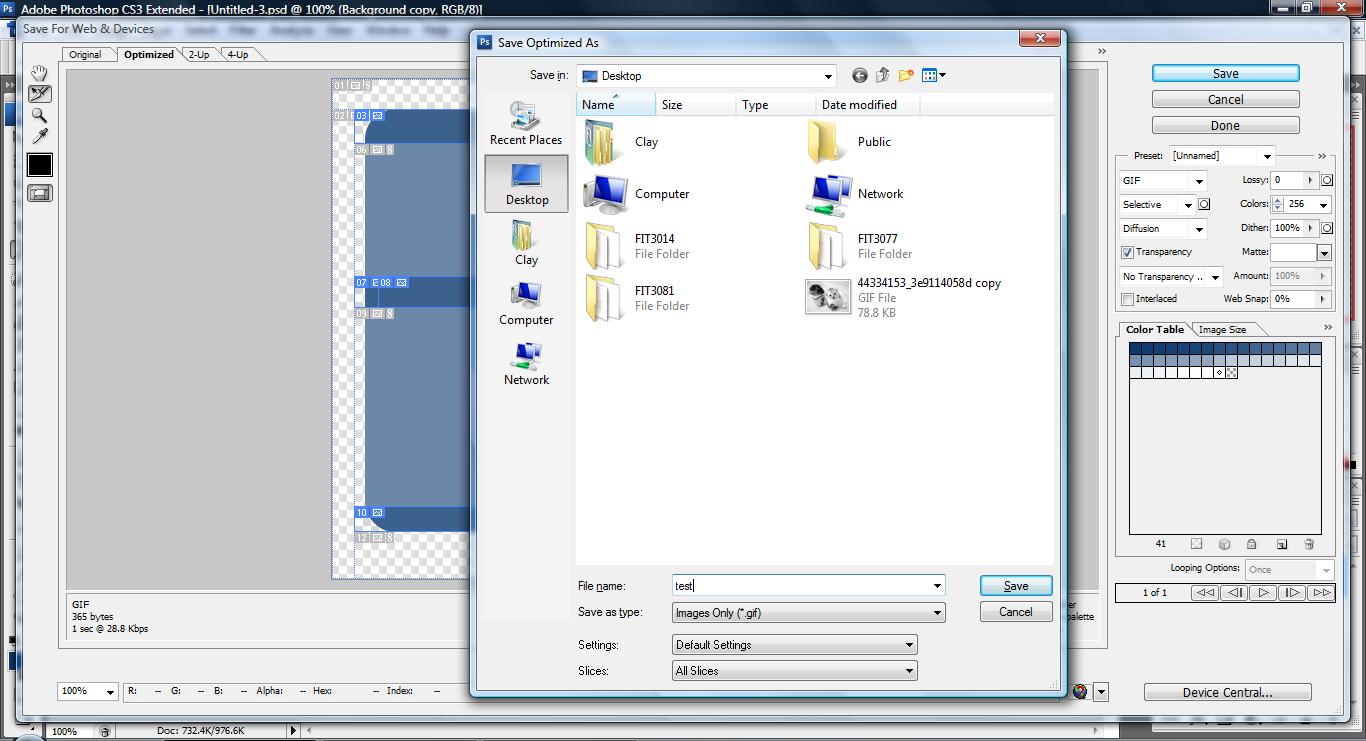
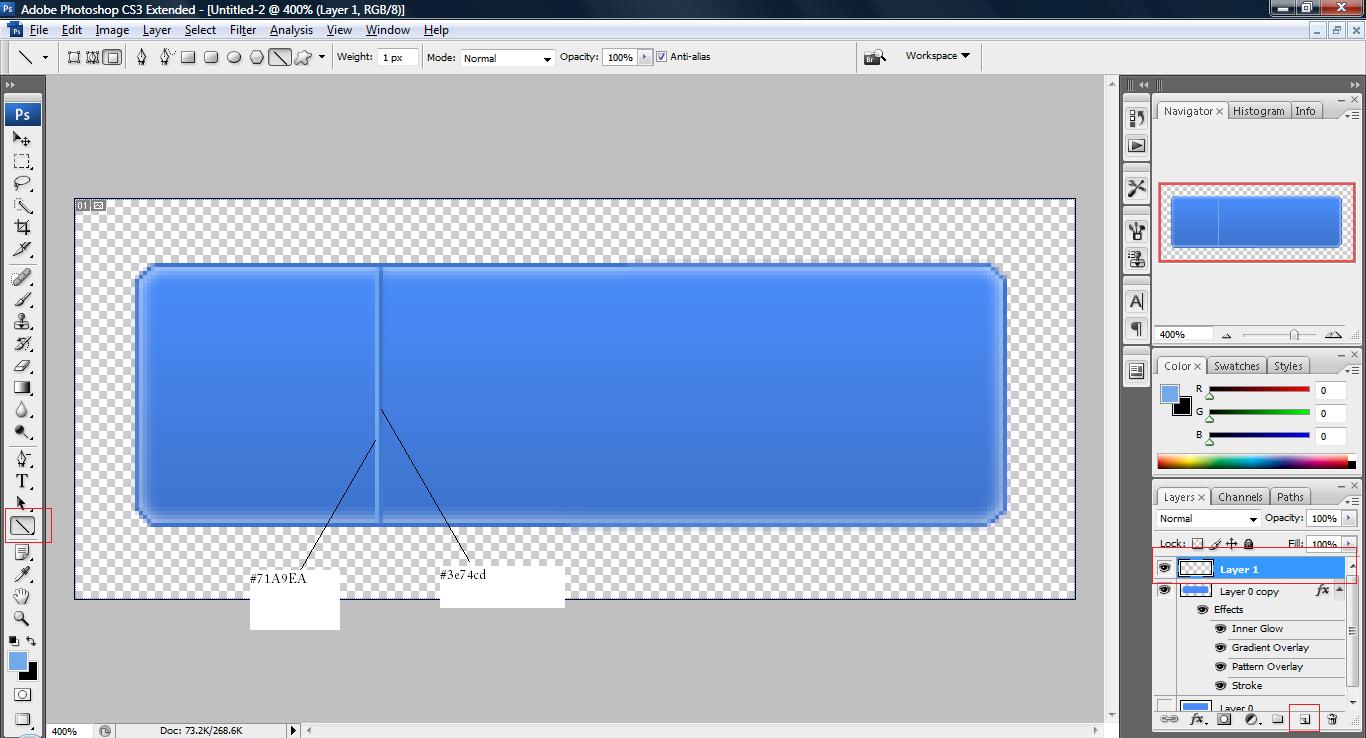
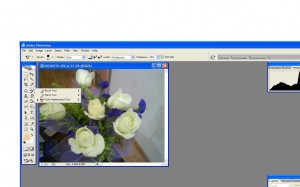
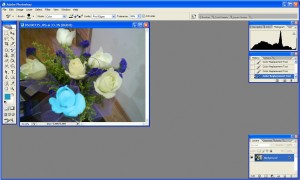
9. And if you work with a transparent background from the start you will get this in the end. P.S: you can remove the background with any removing technique to get this result if you forgot to remove the background initially.

untitled46