The latest Proxmox 4.0 no longer support OpenVZ and we are met with LXC, Linux Container, which is kinda the next thing. But how do we setup a NAT on a LXC? Is it different from the original OpenVZ. Well, its kinda the same. But i will cut the bullshit here and goes straight to the objective. Here, we will try to create a LXC container in Proxmox and allow the same public ip to connect to the LXC container, in and out.
Installing LXC Container on Proxmox
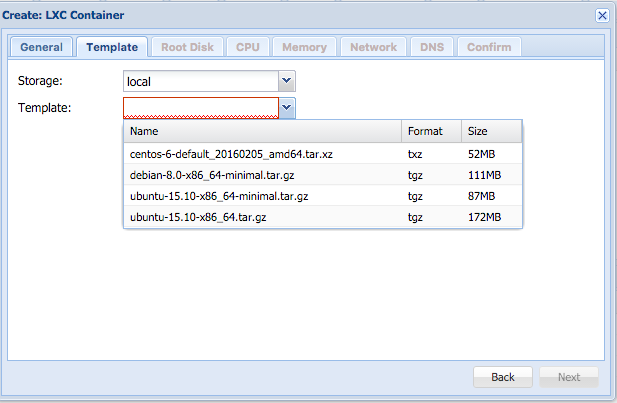
First let's setup a container, let's create a Ubuntu container by selecting the template.
Once we selected, let's setup the network area, take note that i have the internet bridge of vmbr1 (which will need to be change later). Do take note that /24 meaning your submask is 255.255.255.0 and the Gateway should really be what you have set on your vmbr1 (which is also your bridge network to all your NAT container). In this case, mine is 192.168.100.1
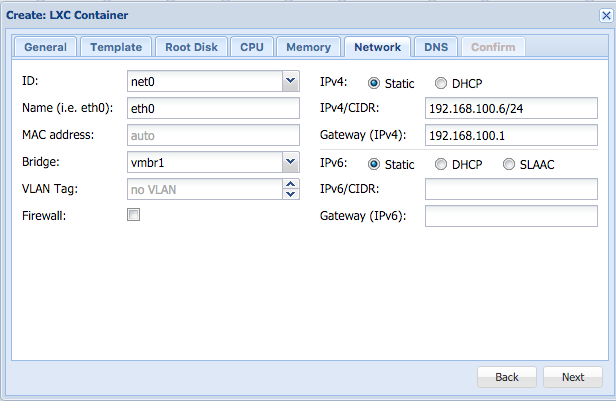
I am giving my LXC container the local ip of 192.168.100.6, just ignore the /24 for now. And setup the DNS
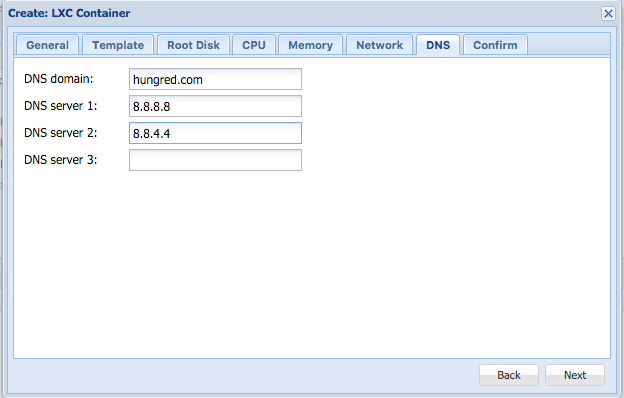
And we are all done, now starts the machine and we are ready to go!
Setup NAT on Proxmox
Now this is the important part, we have 2 things to do, the first setup a new network on /etc/network/interface as show below,
auto vmbr2
#private sub network
iface vmbr2 inet static
        address  192.168.100.1
        netmask  255.255.255.0
        bridge_ports none
        bridge_stp off
        bridge_fd 0

        post-up echo 1 > /proc/sys/net/ipv4/ip_forward
        post-up   iptables -t nat -A POSTROUTING -s '192.168.100.0/24' -o vmbr1 -j MASQUERADE
        post-down iptables -t nat -D POSTROUTING -s '192.168.100.0/24' -o vmbr1 -j MASQUERADE
Do take note that i have added the above so that my container will have internet for all ip within the range of 192.168.100.0/24 (1-255). Now restart the network
/etc/init.d/networking restart
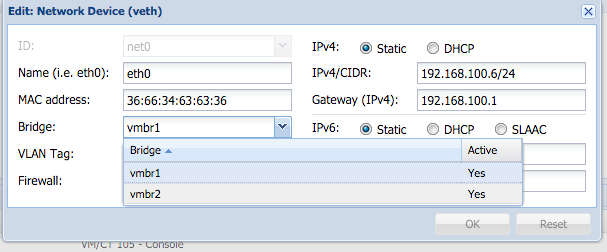
after restarting update the LXC container to use vmbr2.
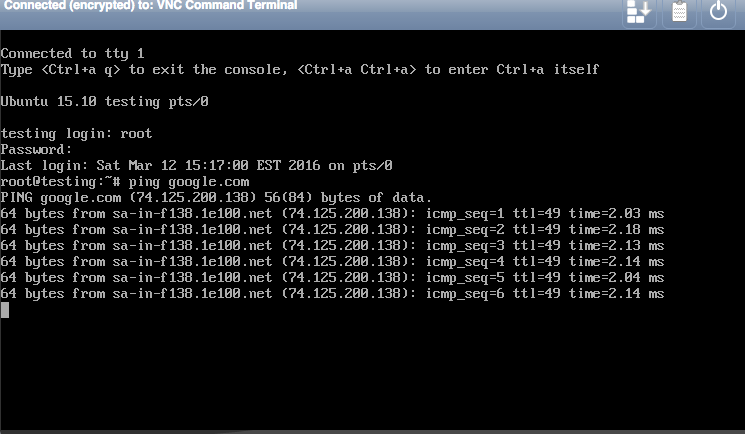
Now access your LXC container via NoVNC (Chrome or Firefox) and you should be able to connect to the internet!
Allow outside connect to LXC
Although you have internet, you will notice that you are not allow to connect to your LXC machine, this is because you did not allow outside to connect to your LXC container. In order to do that, you will need to add stuff into your iptables, add these to your host machine,
#port forward port 2222 to our LXC machine port 22 so we could ssh
iptables -A PREROUTING -i vmbr1 -p tcp -m tcp --dport 2222 -j DNAT --to-destination 192.168.100.6:22
#we did the below just now on network interface config
iptables -A POSTROUTING -s 192.168.100.0/24 -o vmbr1 -j MASQUERADE
#this allows outside to connect to your LXC machines
iptables -A POSTROUTING -s 192.168.100.0/24 -o vmbr1 -j SNAT --to-source 45.125.192.250
What we did on the vmbr2 just now is shown above, if you do not want to add that on the interface section, just do it here. Once you've done that, you should be able to ssh into your LXC container as well! All good!


